Reskinnin Tutorial.
Introduction
Due to the recent release of all bis models my guess is that many people wish to atleast try their skills with making some new textures.
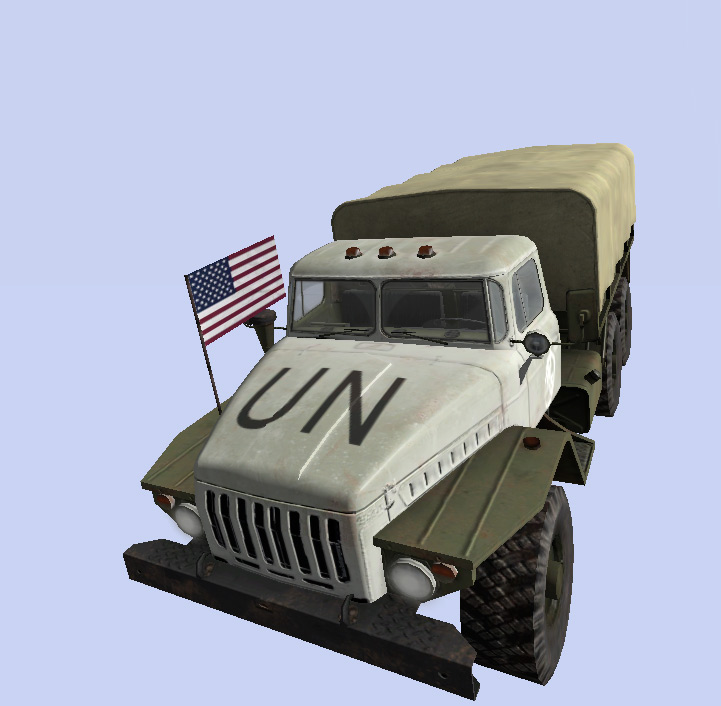
For this exemple I will make a UN truck of the ural, however the guide can be used for any reskins, vehicles to weapons.
First thing we do is to make sure we got everything we need.
Programs:
Image editing software that can handle tga (I use photoshop)
BI Editing Tool Suite
A working unpbo tool. (I use kegetys cpbo)
Download the files:
Depending on what you wish to retexture, I assume you got the mlod.
If it's a BIS model then you should be able to find it in either of this ones:
Sample models of all vehicles and weapons, 110 MB
Sample models of all models used as part of the environment, 60 MB
Sample models of all creatures, 67 MB
Prepare the file structure.
In order not to cause any conflict with other addon makers we use the ”OFPEC TAG” system. If you don’t know what it means its just basicly that you can’t have two ”urals” that is called Ural, how will the game know which is the yellow, blue, russian or my reskinned UN one if they have the same name.
Thats why I will call mine rc_ural.p3d, RC is the tag I use, it SHOULD be three or mroe, but I use only 2.
Read more for more information visit
Now back to the structure, because I will make more vehicles I use my own structure that look like this:
rc_un_veh\models\rc_ural.p3d
Notice that I have the tag both on the first folder and aswell on the models name.
My new textures I will put in:
rc_un_veh\data\
Now its time for getting our textures, since I am gonna retexture the ural I will go to my Armed Assault folder, then Addons, look for the wheeled.pbo and copy it to my ArmA work.
Extract all files, this will let me see the ”default” textures in buldozer but also to copy the texture I want.
My path is:
F:\ArmA\AddOns\wheeled.pbo
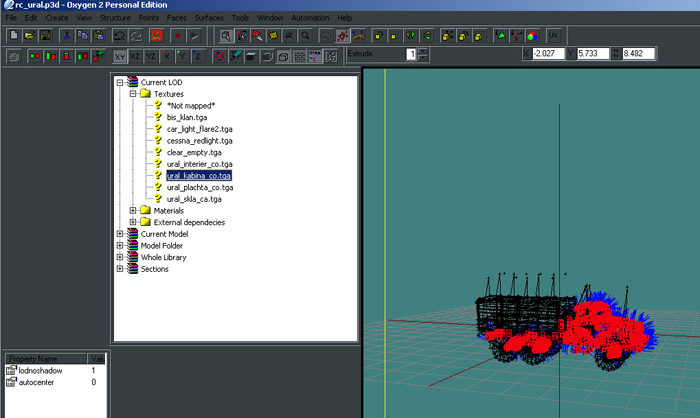
Now its time to start oxygen up and load the ural, as you can see there is not much of a truck there and if you really observant you also notice that i already saved it to ”rc_ural”.
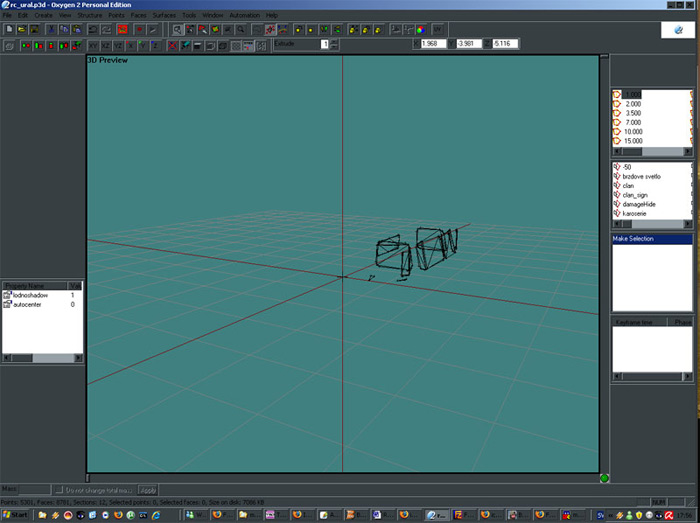
Its not because there is some error with the model, its just that some parts have be hidden. This makes it easier when you work with a small detail that you don’t have to see everything.
To unhide follow this steps:
CTRL+A ( This will select everything on the model )
CTRL+SHIFT+H ( This will unhide the parts that are selected).
CTRL+H will hide stuff if you wish to do it later.
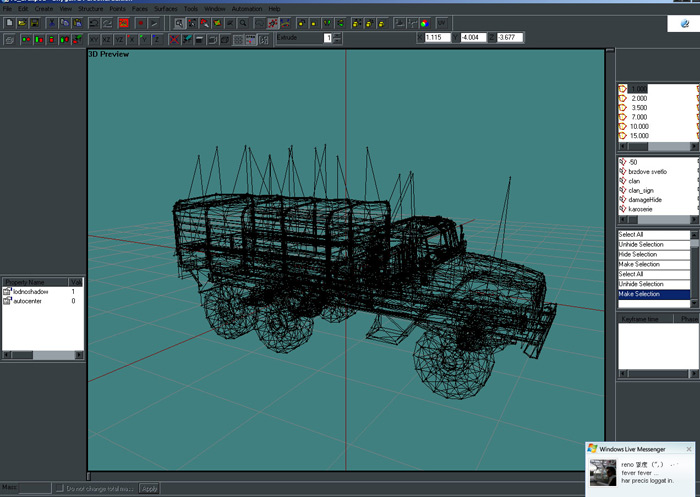
Anyway now we got our model but we still need to know which texture we want to edit.
There is the sometimes quick view, look in the texture folder and check them to see the one that looks like the one we want to have.
The other, cooler way is to use O2 for it.
Go up to ”window->Resources Library”
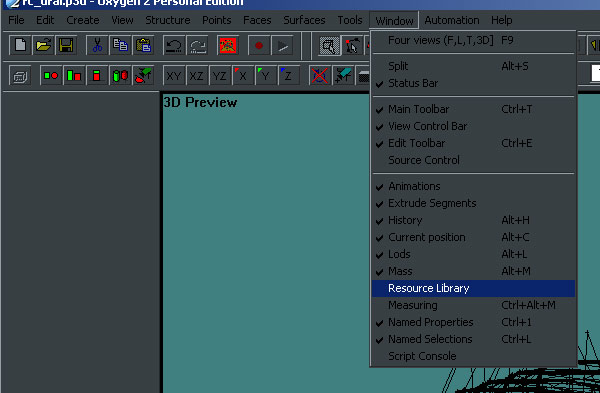
Now, by holding CTRL and press Left mouse button (later in the text refered to LMB), now you will see which part of the model that get selected.
In my case when I select
ca\wheeled\data\ural_kabina_co.paa
most of the exterior gets selected and thats where I will start.
Editing the texture.
Now lets go find that texture so we can get started, look for the file with same name but that is a paa instead of tga. Open it with Texview 2 and resave it as tga.
Personaly I use the plugin that Kegetys made and simply drag the texture to my Photoshop window.
This guide won’t cover how to work with photoshop, that would take too much time for me and there is already plenty of tutorials about photoshop.
Since it also depends alot of what you making, I will just leave it to show what I done.
I wanted this more quickly rather then at high quality.
As you can see i simply put some more layers to make it white and added UN on the bonnet / hood (the engine cover).
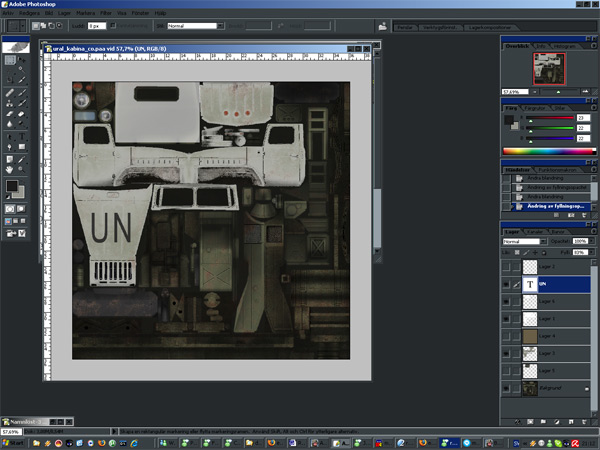
Time to save, DON’T OVERWRITE, SAVE IN YOUR NEW FOLDER!
The reason I put that in red is because two reasons, first it just shouldn’t be there, we making a new addon with new textures, not overwriting the orginals (unless you for some very fucked up reason are working at BIS and still needs to read this tutorial).
Second reason is that the original texture can come in handy again, maybe you need to start from scratch. To unpbo the files again isn’t that funny.
So now I save and we get to the final step.
Back to oxygen
If you totaly new to ArmA / Operation Flashpoint models some stuff might still be confusing, esp if you never had done any editing before.
A quick look on the right side of the window shows there is some stuff called ”1.00”, ”2.00” and so on. This ones are called ”LOD’s” (Level of detail).
The higher number, less details, why not just one model is easily explained that you want higher FPS and its not so important to try see all details on a truck 1 km away in flashpoint. Thats why..
Anyway, this gives us alot of work.. correction it used to give us alot work.
In order to make sure your vehicle used the new texture, you used to have to change on every lod but with the new oxygen it comes with a nice tool called..

Now just open it, select the texture you have changed.
Type in the new path and you done..!